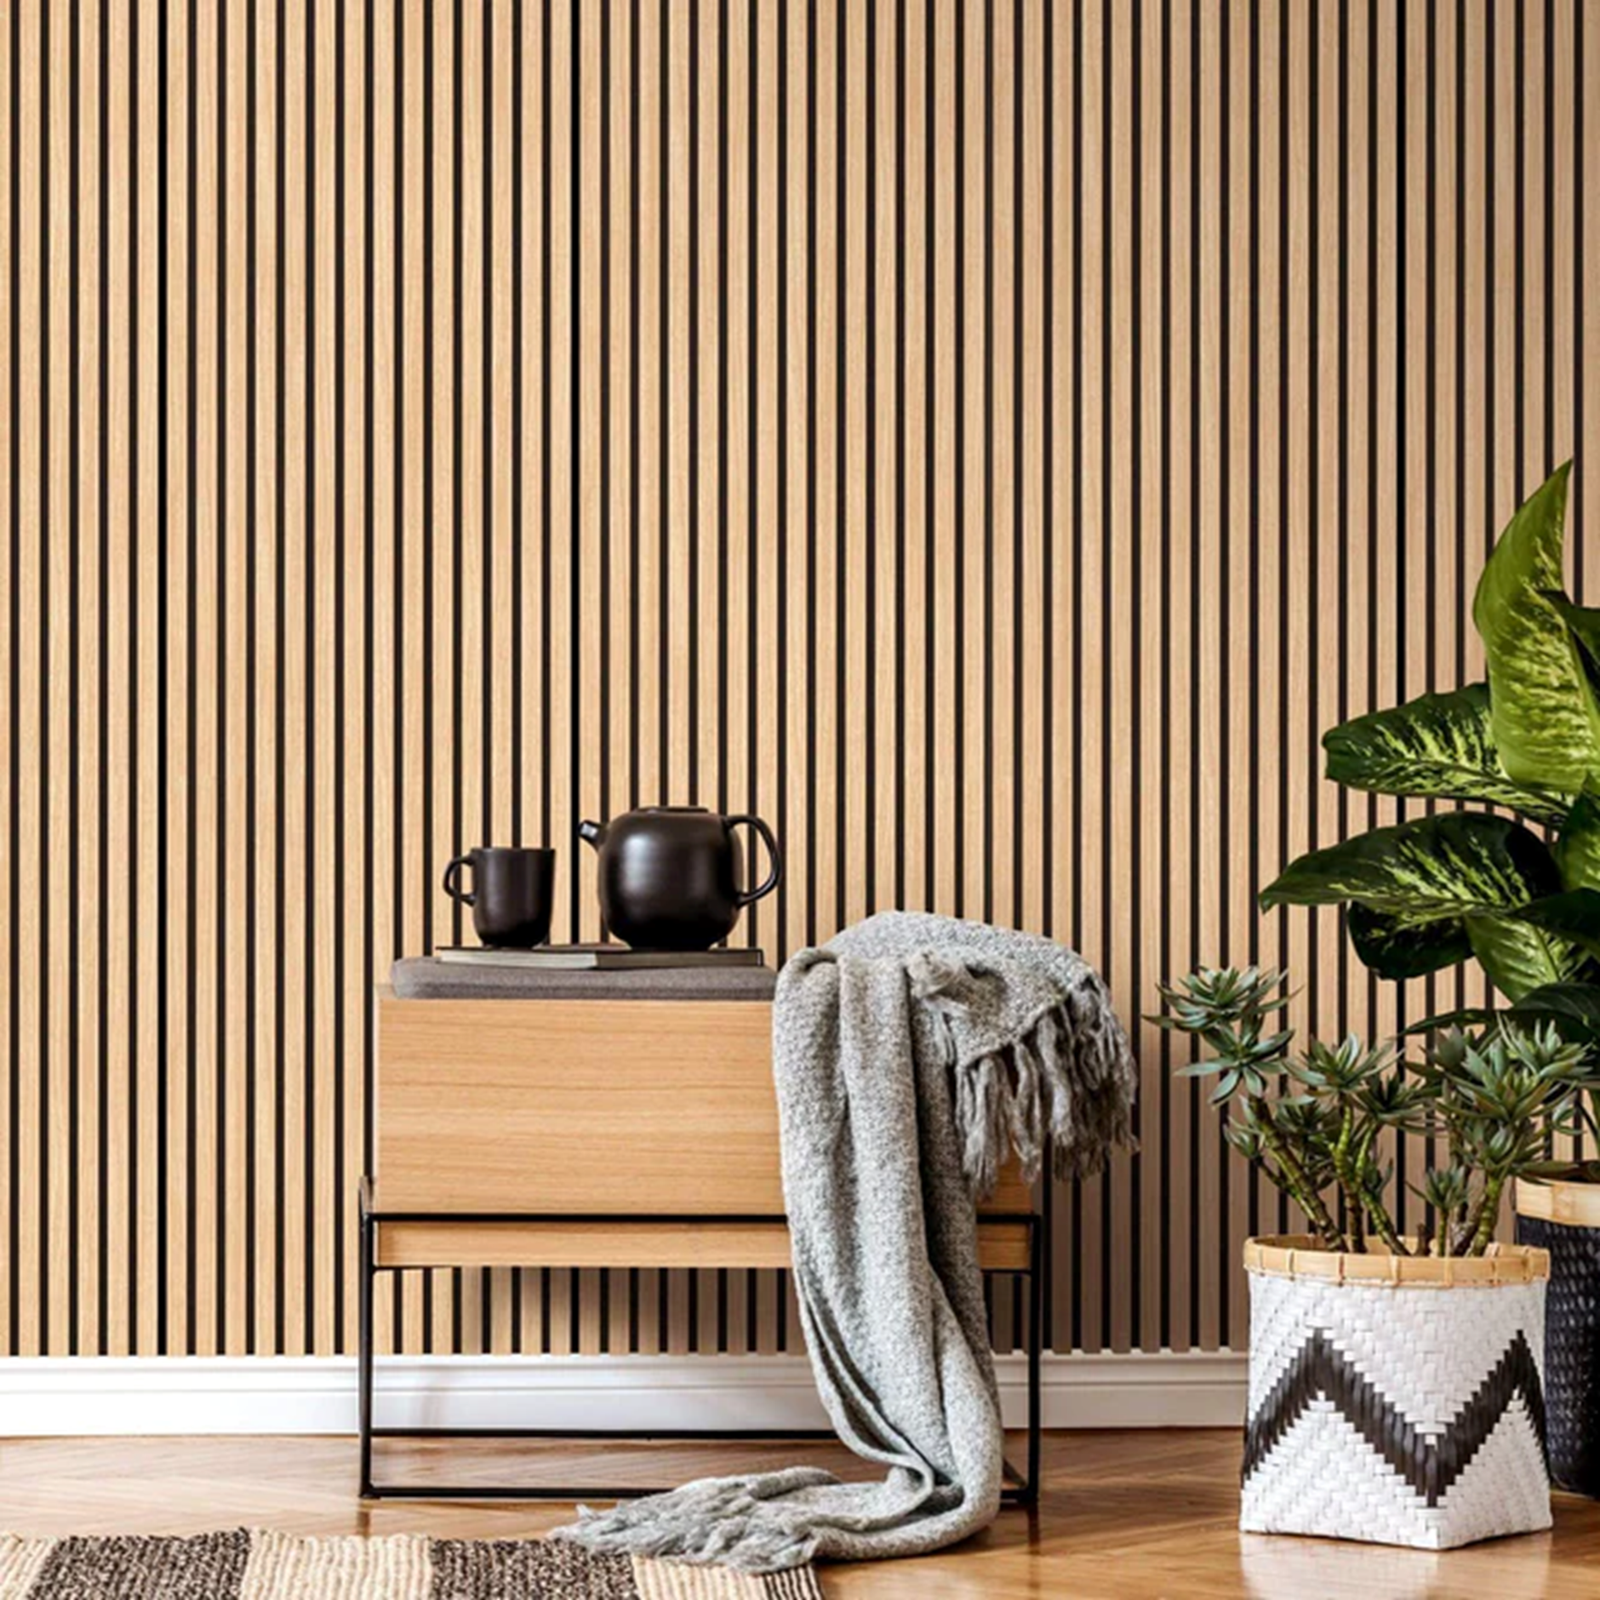
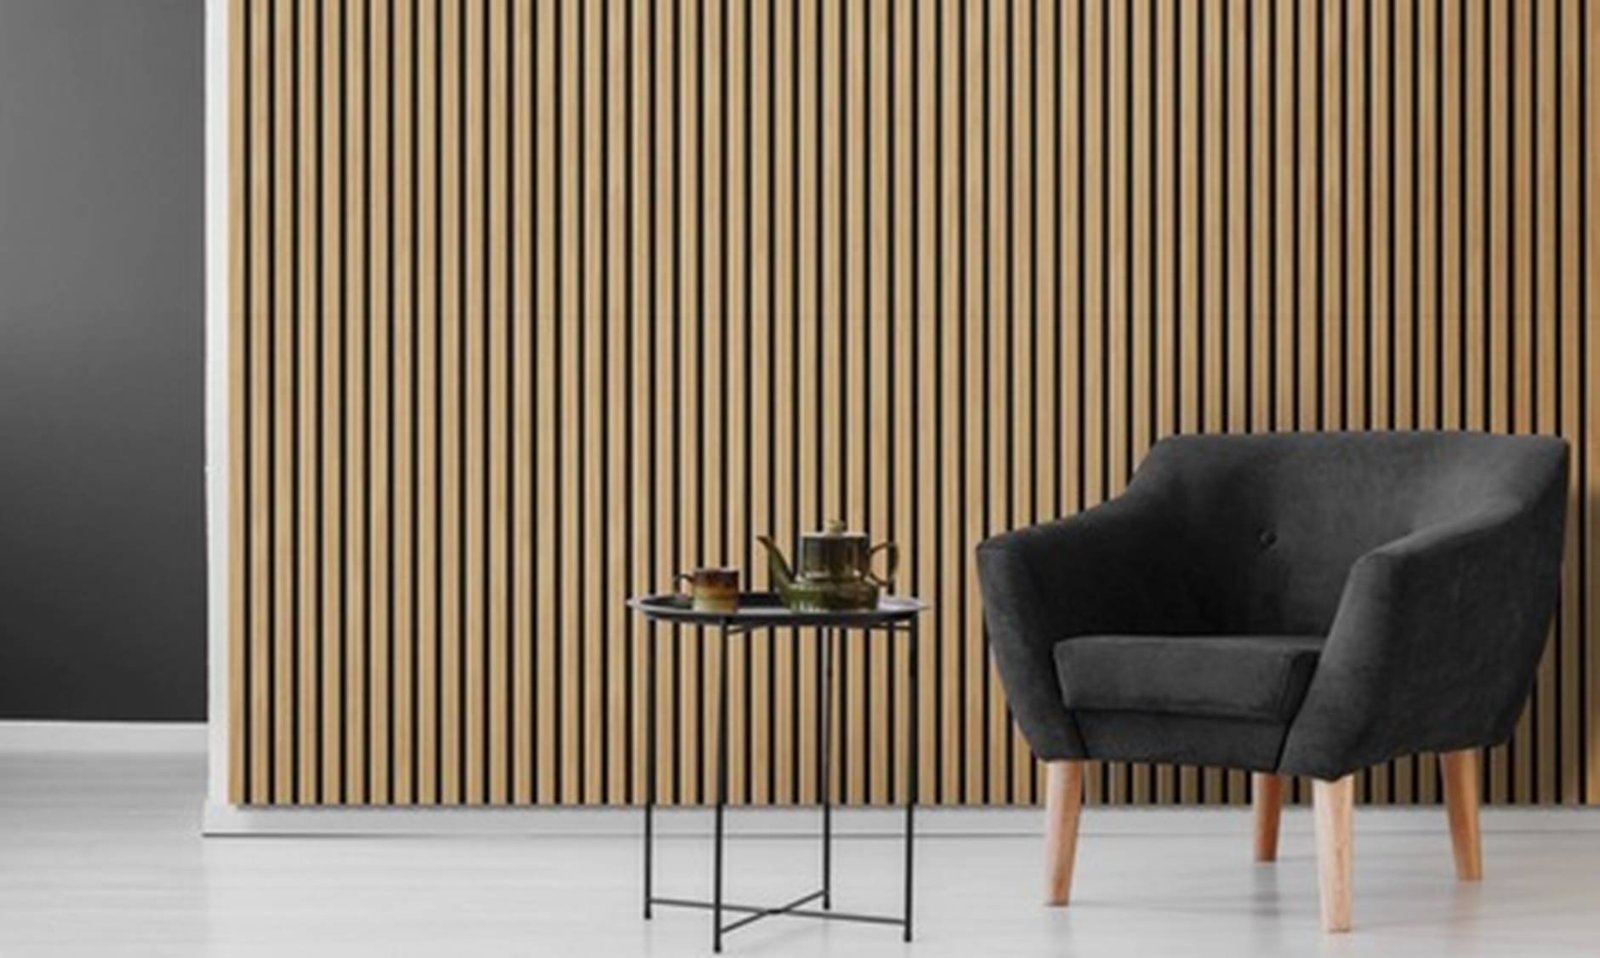
These Akupanles are so easy to install that you can fix your panels directly to Gyproc, Render Wall or Brick Wall…
Tools you require for installation:
- Masking Tape
- Fast Grab Strong Adhesive or Strong Adhesive Double Sided Body Mount
- Impact Driver
- Black Screws
- Bit to fit screws
- Measuring Tape
- Cicular saw with fine tooth blade
- Multi tool with fine blade
- Pencil
- Spirit Level
Measure and Cut to size:
Take the measurement of the wall where you want to install the panel. Measure each panel and check if the panel is going to fit in that space in full or require any adjustments to fit.
If any adjusment needs to be done, then use your pencil to mark and apply masking tape to both sides of your panel to get a clean cut. Use circular saw to cut panel to accurate size. You have to use multi tool to cut space for switch boards, if any. Now your panel is cut to desired size and ready to install on wall.
Installation:
Method 1
Gluing straight on the panel
Mounting the panel on the wall with glue. A construction glue or grab adhesive is recommended for this.
Method 2
Screwing directly into the wall
The panels can be screwed directly into the wall through the acoustic felt. Considering to the material of wall, it would be difficult to screw the panel directly on the wall if the wall is concrete or brick. It need to add an additional layer for solidity. Mounting the panel on the wall with glue. A construction glue or grab adhesive is recommended for this.
Method 3
Screwing the panels into wooden racks
First, installing an underlying wooden racks on the wall. Then, screwing the panels into the wooden racks. For an optimum sound absorption, we recommend installing sound absorbing device like rock wool between the panel and wood racks. With this combination, you will get the highest sound absorption.
